Create Your Account
- Visit the Sell Agent Dashboard
- Sign up for a new account
Create a New Agent
- Navigate to the “Agents” tab
- Click “Create an agent”
-
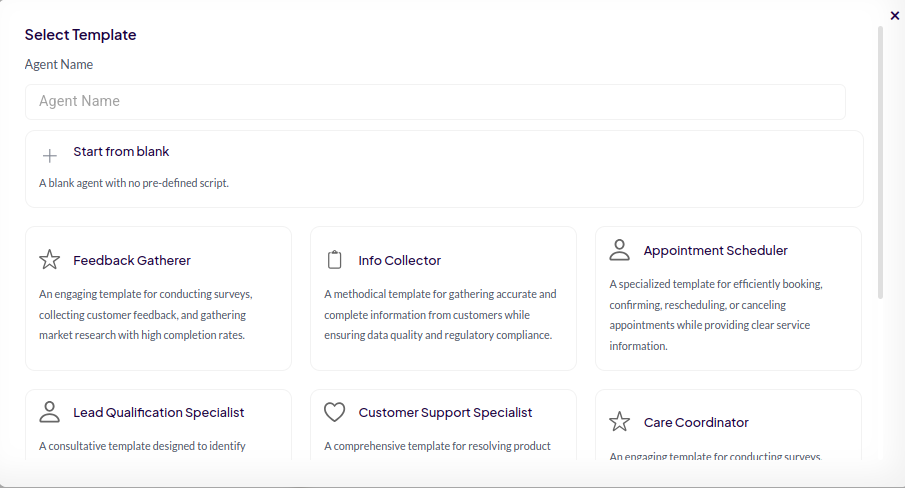
Choose a template
- If you’re not sure which template to choose, we recommend starting with “Lead Qualification Specialist”.
Set Up Billing & Payment
-
Before purchasing phone services, set up your payment method:
- Go to Settings → Billing tab
-
Choose your payment option:
- Buy Credits: For pay-as-you-go usage
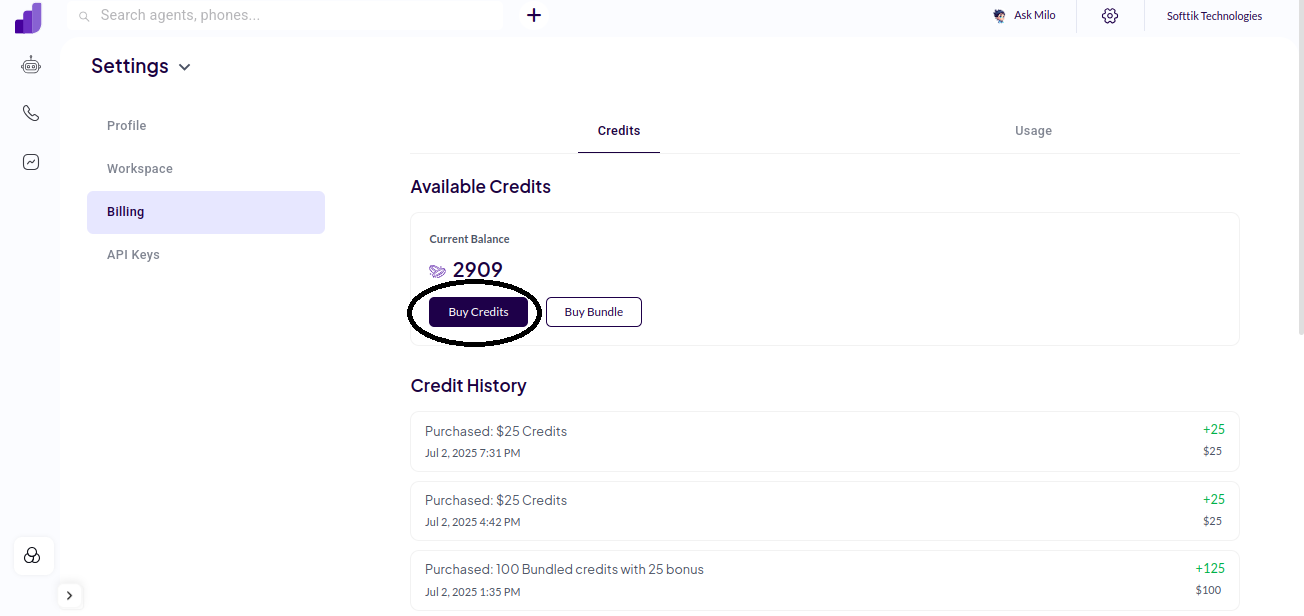
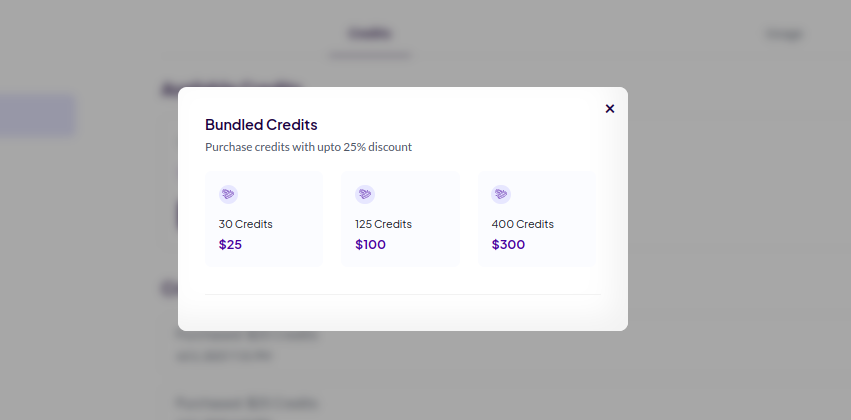
- Buy Bundle: Purchase credits with upto 25% discount
- Buy Credits: For pay-as-you-go usage
Configure Your Phone Number
- Log in to your Twilio Console
- Navigate to “Phone Numbers” → “Buy a Number”
- (Optional) Enter your preferred area code
- Purchase your desired phone number
-
Create a SIP Trunk for this number in Twilio:
- Go to “Elastic SIP Trunking” in Twilio console
- Create new SIP Trunk
- Add your purchased number to the trunk
- In Sell Agent, go to “Phone Numbers” tab
- Click on “Add”
- Enter your Twilio SIP Trunk details
-
Assign your agent to the number in the configuration settings

Test Your Phone Agent
Incoming Calls:
- Dial your purchased number
- Click “Make an outbound call”
- Enter the phone number including country code (e.g., +17245868135)
- Receive incoming calls 24/7
- Make outbound calls
- Handle natural conversations
- Process customer requests automatically